14 Sep How to make a Flower Crown (in 8 simple steps)
From donning the heads of Frida Kahlo and Karlie Kloss, Elizabeth Taylor and Lorde, Ophelia and Marie-Antoinette, the ancient Greeks, Hawaiians and 1960s flower children, the timeless floral headdress is TIMELESS.

Directions for a floraltastic Flower Crown (aka Eights Steps to Boho Mojo):
Step 1: Purchase green-covered floral wire from your local florist. Take your wire and wrap it around your head to establish the size for your crown, leaving about half an inch of wiggle room because you’re going to pack it with a bunch of greenery. Secure with floral tape. A big sigh and a major smile.
Step 2: Cut a number of small two-inch pieces of florist wire and set them aside to use when attaching large floral pieces to your crown base. It’s all about the planning petals.
Step 3: Once you’ve measured your head and secured your wire base, use some greenery (vines are recommended) to wrap around the entire base of the wire, ensuring to cover up all wire – weave around and secure by twisting wire together and secure with floral tape. Remember, strong foundations make for a lasting Flower Crown… just like life!
Step 4: Pick your florals. Choose a mix of large and small flowers, and make sure to pick some un-flowered greenery, too (if you have flowers with individual leaves on the stems near the bloom, you’ll need to trim those leaves off to access the stem and secure to the crown base). Go on, get creative – colour block, mash it up, go for curated or crazy.
Step 5: Attach your small floral pieces to your flower crown base using floral tape – baby’s breath is perfect for this and is easy to source. Map out the look and feel of your crown, allowing space for your floral pieces. Trust us, it’s worth the work.
Step 6: Now for those statement floral pieces (spray roses and chrysanthemums are perfect mid-sized flower fillers) – ensure when you’re cutting your floral that you do not cut the entire stem off, as you need as much stem as possible to build off when it comes to the statement floral pieces. Weave a small piece of wire (cut earlier) around the base and down the stem of the flower and attach it to the crown (secure as needed with floral tape – this also ensures there are no stray wires that may prod your head!). Repeat until all of your floral pieces are attached, ensuring that the flowers face outwards. Tip: Overlap the flowers and greenery just enough to hide the wire crown base and any thick piece of floral tape. Almost there.
Step 7: Take a step back, admire your creation and take a snap – don’t forget to share on Instagram and tag @toowoombacarnivalflowers and #TCOF. Go you!!
Step 8: You’re ready to rock your flower crown skills at Toowoomba Carnival of Flowers, so crown your clever head and get blooming at www.tcof.com.au
Flower crown top tip – how to make your flower crown last as long as possible?
Trim about an inch off the bottom of each flower, then put them in a vase of water for at least an hour, adding flower food (if they came with it). That way, the blooms are well-hydrated before you begin building your crown.
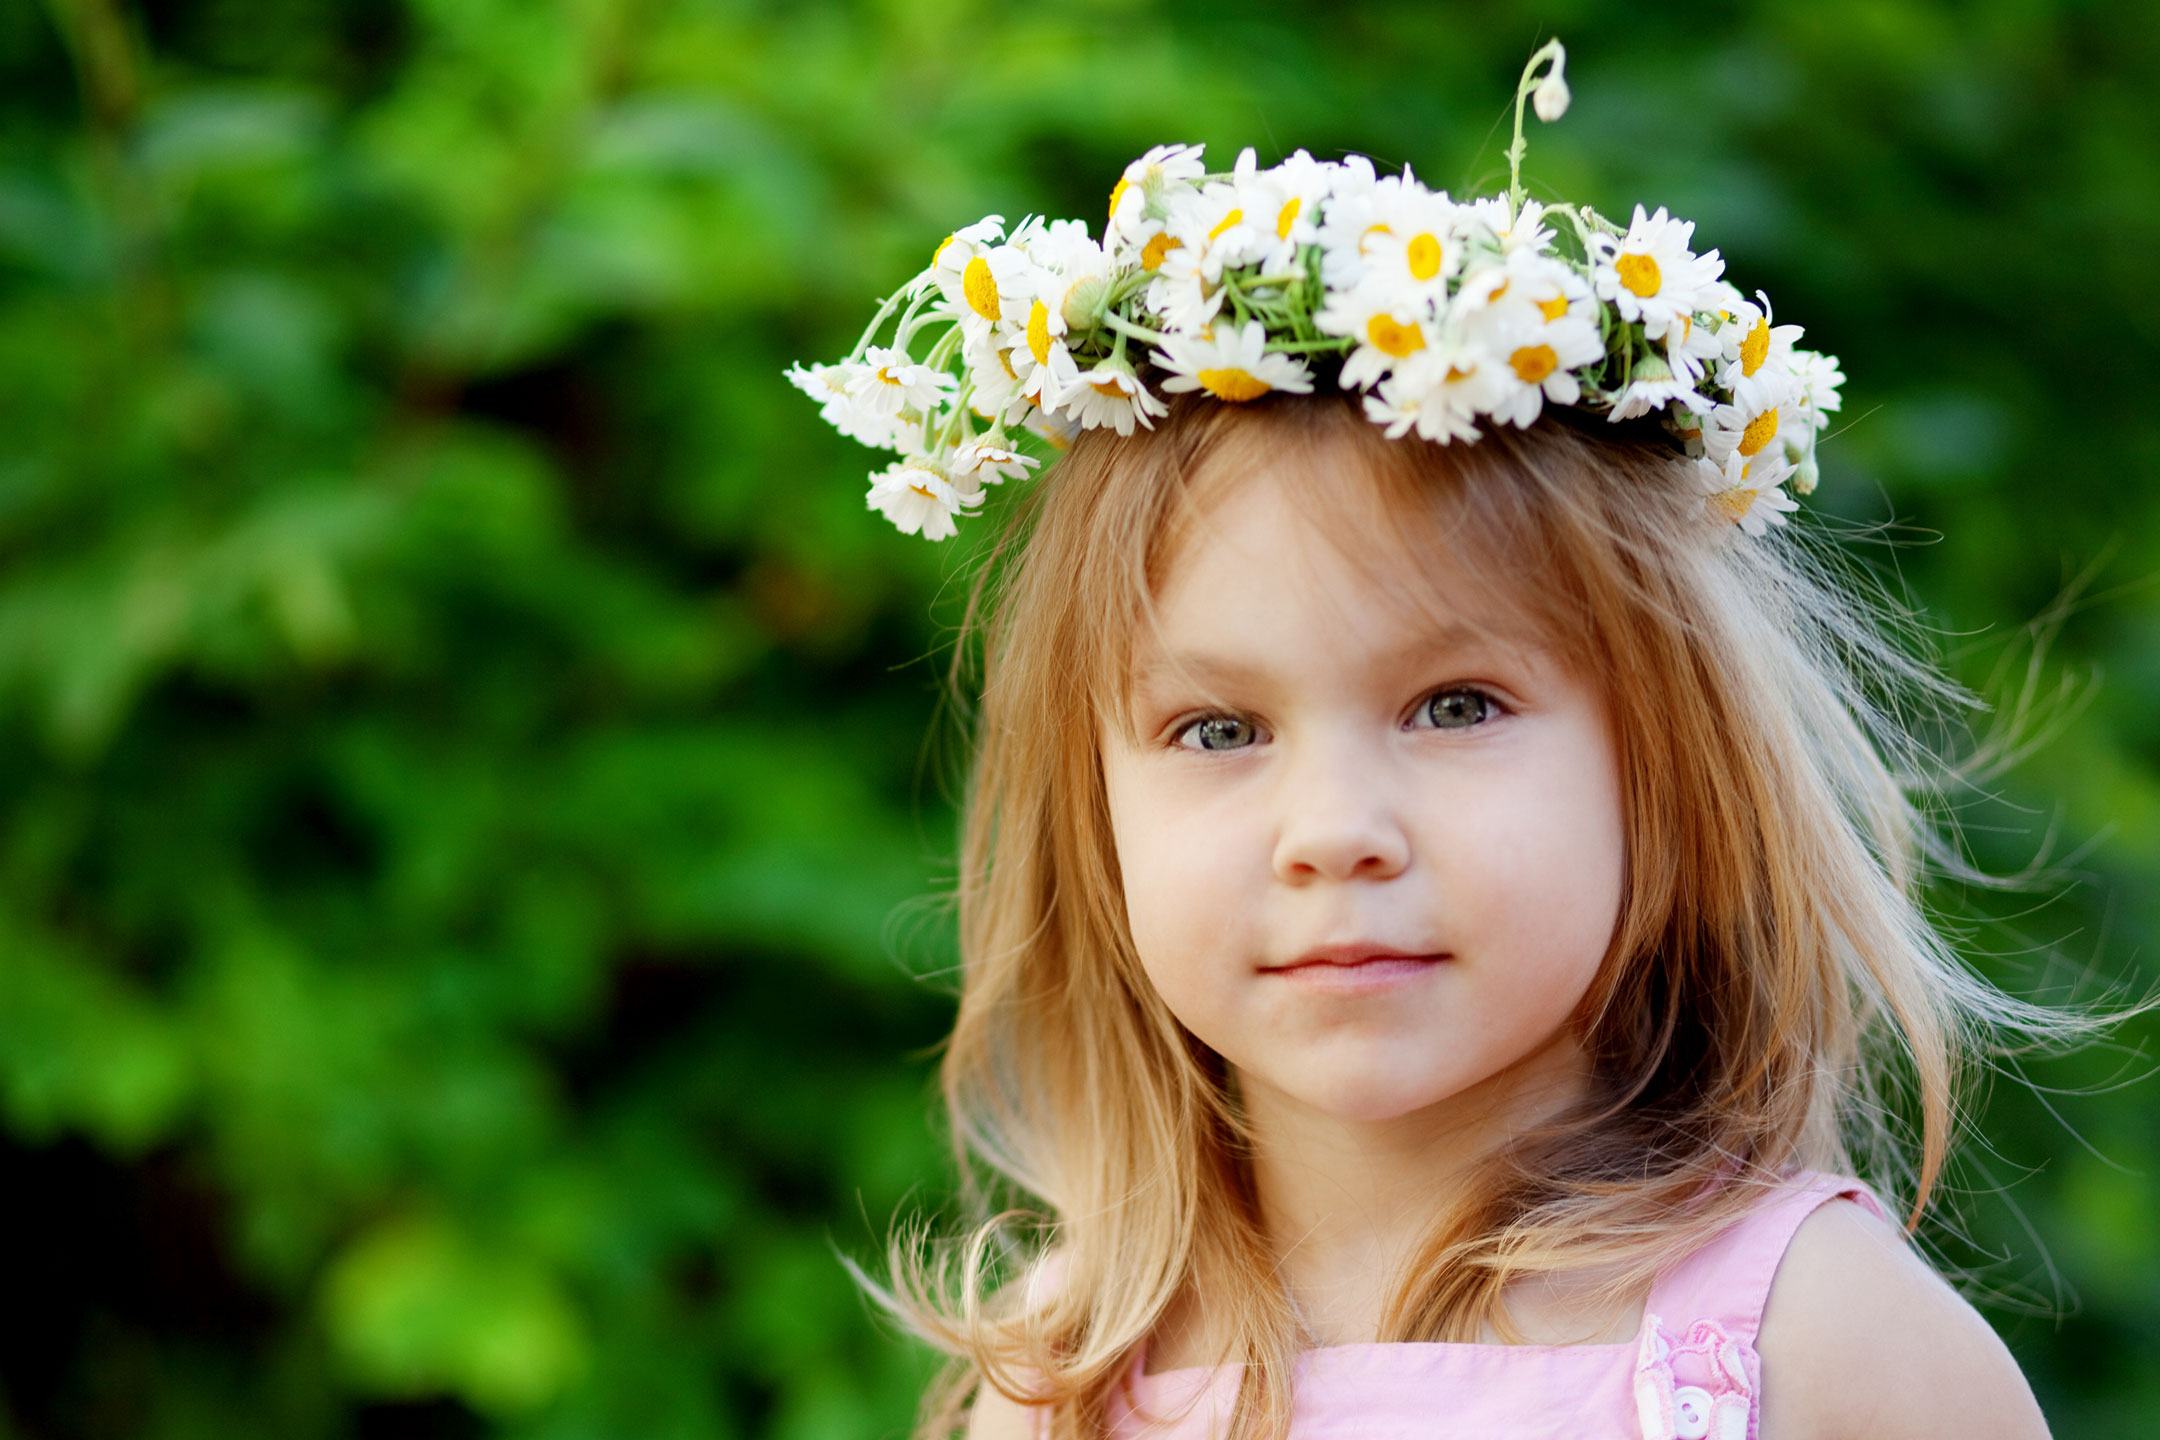
Image: Constance Bailey in Queens Park and her Flower Crown ready for the Toowoomba Carnival of Flowers 2023. Pic Nigel Hallett.
Toowoomba Carnival of Flowers 2023 Runs from 1 – 30 September 2023